
Are you ready to make your home warm and cozy without any hassle? Installing a heater might seem tricky, but with the right steps, you can do it yourself and save time and money.
This step-by-step guide will walk you through everything you need to know, from choosing the right spot to connecting the power safely. By the end, you’ll feel confident and ready to enjoy a warm space all winter long. Keep reading—your comfort is just a few simple steps away!
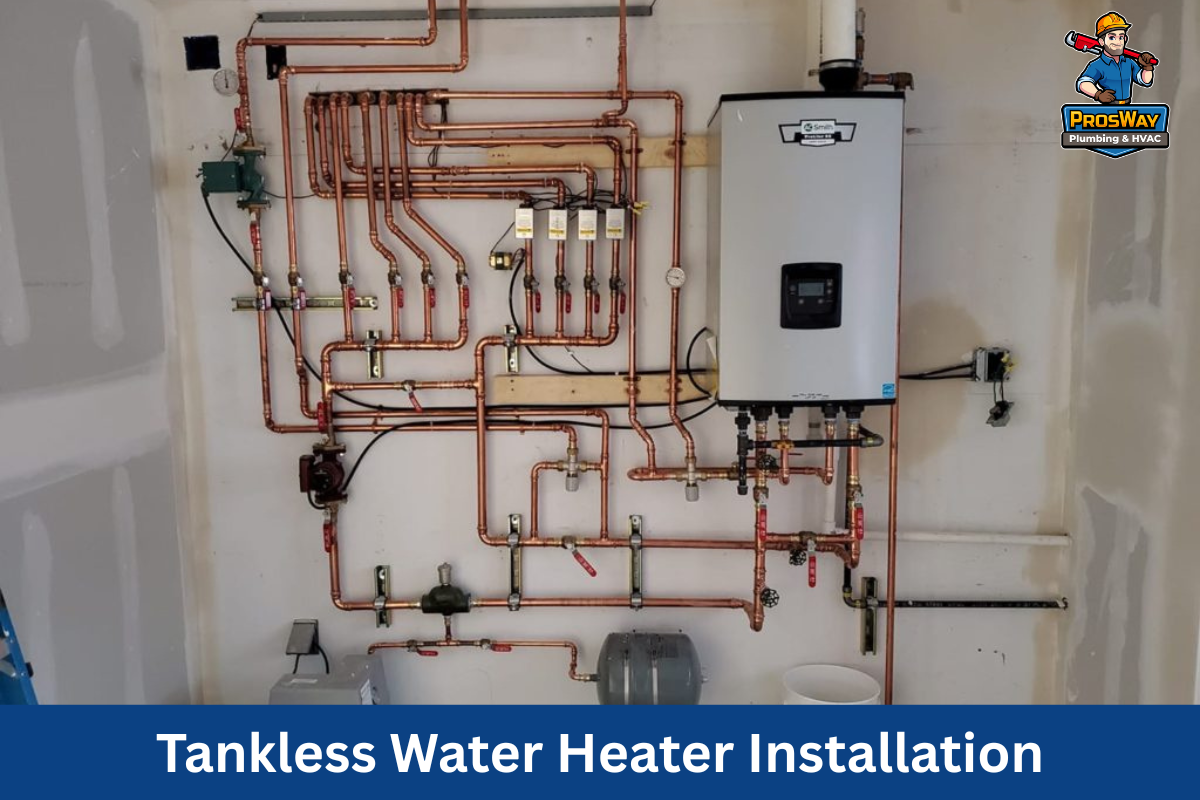
Credit: proswaynj.com
Choosing The Right Heater
Selecting the right heater is important for comfort and safety. You should think about your space and heating needs before buying.
This guide helps you understand different heaters, their sizes, and energy use. It makes choosing easier.
Types Of Heaters
There are several heater types. Each works best in different situations. Knowing them helps pick the right one.
- Electric heaters use electricity and are easy to install.
- Gas heaters burn natural gas or propane for warmth.
- Oil heaters use oil to produce heat and keep rooms warm longer.
- Infrared heaters warm objects and people directly without heating the air.
Size And Capacity
The heater size must match the room size. A small heater will not warm a big room well.
| Room Size (sq ft) | Recommended Heater Capacity (BTU) |
| 100 – 300 | 5,000 – 7,000 |
| 300 – 500 | 7,000 – 10,000 |
| 500 – 800 | 10,000 – 14,000 |
| 800 – 1,000 | 14,000 – 18,000 |
Energy Efficiency
Energy-efficient heaters save money on bills. They use less power to warm your space.
- Look for heaters with Energy Star labels.
- Choose models with adjustable thermostats.
- Consider heaters with timers to avoid wasting energy.
- Infrared heaters often use less energy than others.
Preparing For Installation
Installing a heater requires good preparation. You need to gather the right tools and materials. Safety is also very important. Finally, choose the best spot for installation.
Tools And Materials Needed
Before starting, collect all tools and materials. This saves time and avoids interruptions. Common tools include screwdrivers, drills, and wrenches.
- Electric drill with bits
- Screwdrivers (flathead and Phillips)
- Adjustable wrench
- Measuring tape
- Level tool
- Wire strippers
- Safety gloves and goggles
- Heater unit and mounting brackets
- Electrical connectors and cables
- Sealant or insulation tape
Safety Precautions
Safety is key during heater installation. Protect yourself and others. Turn off the power before you start. Use protective gear and follow instructions carefully.
- Wear safety gloves and goggles
- Switch off electricity at the breaker
- Check for gas leaks if using gas heaters
- Keep the work area clean and dry
- Do not work alone if possible
Selecting The Installation Spot
Choose a proper location for the heater. The spot must allow good air flow and easy access. Avoid placing the heater near curtains or flammable materials.
| Factor | Description |
| Ventilation | Ensure the area has enough air circulation to prevent overheating. |
| Accessibility | Pick a spot easy to reach for maintenance and controls. |
| Clearance | Keep enough space around the heater to avoid fire risks. |
| Power Source | Locate near an electrical outlet or gas connection as needed. |
Step 1: Turning Off Power
Before installing a heater, you must turn off the power to stay safe. This step prevents electric shocks and damage.
Carefully follow the instructions below to cut off the power supply properly.
Locating The Circuit Breaker
The circuit breaker controls the power in your home. It is usually found in a utility room, basement, or garage.
- Look for a metal box on the wall.
- Check for labels that indicate different rooms or appliances.
- Identify the breaker linked to the heater or the main power switch.
Ensuring No Power Flow
After turning off the breaker, verify there is no electricity flowing to the heater.
| Step | Action | Purpose |
| 1 | Switch off the correct breaker | Cut power to the heater |
| 2 | Use a voltage tester on heater wires | Confirm no electrical current |
| 3 | Double-check for lights or sounds | Ensure power is off |
Step 2: Mounting The Heater
Mounting the heater correctly is important for safety and performance. This step guides you through fixing the heater in place.
Follow each part carefully to ensure a strong and stable installation.
Marking Drill Points
Start by holding the heater where you want to mount it. Use a pencil to mark the spots for drilling.
Check that the marks are level and spaced correctly to match the heater’s mounting holes.
- Use a level tool to keep marks straight
- Double-check the measurements before marking
- Mark each hole clearly for easy drilling
Securing The Heater To Wall Or Floor
After marking the drill points, drill holes at the marked spots. Use anchors if needed for extra support.
Attach the heater using screws or bolts. Tighten them firmly but avoid over-tightening to prevent damage.
- Drill holes with the correct size drill bit
- Insert wall anchors if mounting on drywall or masonry
- Use screws or bolts that fit heater brackets
- Check the heater is stable after mounting
Step 3: Electrical Wiring
Electrical wiring is a crucial part of heater installation. It ensures the heater works safely and efficiently. This guide will help you connect wires properly.
Follow each step carefully to avoid mistakes. Always prioritize safety and double-check your work.
Connecting Wires Safely
Ensure the power is off before you start. Use a voltage tester to confirm no electricity is flowing.
Identify the wires by their colors. Typically, black or red is live, white is neutral, and green or bare is ground.
- Turn off the circuit breaker
- Use insulated tools to handle wires
- Check wire insulation for damage
Using Wire Connectors
Wire connectors join wires securely. They prevent wires from coming loose and causing shorts.
Twist wires together before adding the connector. Make sure no bare wire is visible after twisting.
- Choose the right size connector for the wire
- Twist the connector clockwise until tight
- Check for a snug fit to avoid loose connections
Testing Connections
Testing ensures all connections are correct. This step confirms the heater will operate safely.
Turn the power back on and use a multimeter. Check for continuity and proper voltage.
- Verify all connections are secure
- Check for proper voltage levels
- Ensure there are no sparks or unusual noises

Credit: www.vevor.com
Step 4: Installing The Thermostat
Installing the thermostat is a key part of heater setup. It controls the room temperature and keeps you comfortable.
This step involves placing the thermostat correctly and connecting it to the heater wires.
Positioning The Thermostat
Place the thermostat where it can sense the room temperature well. Avoid spots near windows, doors, or direct sunlight.
- Mount the thermostat about 5 feet above the floor.
- Choose a central wall in the main living area.
- Keep it away from heat sources like lamps or vents.
- Do not install it behind furniture or curtains.
Wiring To The Heater
Connect the thermostat wires to the heater according to the manual. Turn off power before starting to avoid shocks.
| Thermostat Wire | Heater Terminal | Purpose |
| Red (R) | R | Power from transformer |
| White (W) | W | Heat call signal |
| Yellow (Y) | Y | Cool call signal (if applicable) |
| Green (G) | G | Fan control |
| Common (C) | C | Common power return |
Step 5: Final Checks
After installing the heater, you must perform final checks. These checks ensure the heater works safely and correctly.
This step includes inspecting the installation, powering on the heater, testing it, and troubleshooting any issues.
Inspecting Installation
Look over the heater and all connected parts. Make sure all screws and pipes are tight and secure.
Check for any signs of damage or loose wires. Confirm the heater is mounted properly and level.
- Verify all connections are firm
- Ensure no parts are missing or broken
- Check for proper clearance around the heater
- Confirm vents and ducts are clear
Powering On And Testing Heater
Turn on the power supply to the heater carefully. Watch for any unusual sounds or smells.
Set the thermostat to test if the heater warms the room. Check if the heater cycles on and off correctly.
- Switch on power at the breaker
- Adjust thermostat to a higher temperature
- Listen for smooth operation
- Feel for warm air or heat output
- Observe if heater stops heating at set temperature
Troubleshooting Common Issues
If the heater does not work properly, check common problems first. This saves time before calling a professional.
Look for power supply problems, blockages, or thermostat errors. Fix simple problems as needed.
- Check if the circuit breaker is tripped
- Make sure the thermostat batteries are good
- Clear any dust or dirt from vents
- Ensure no objects block heat flow
- Reset the heater if it has a reset button
Maintenance Tips
Heater maintenance is important for safety and efficiency. Regular care keeps your heater running smoothly.
These tips will help you maintain your heater. Follow these steps to ensure safety and longevity.
Cleaning The Heater
Dust and dirt can clog your heater. Cleaning helps it work better and saves energy.
Unplug the heater before cleaning. Use a soft brush or vacuum to remove dust.
- Check vents and filters monthly
- Use a damp cloth for exterior surfaces
- Ensure no objects block the heater
Regular Safety Checks
Safety checks prevent accidents. Inspect your heater regularly to ensure it is safe.
Look for frayed wires or unusual smells. Test the safety switch often.
- Inspect power cords for damage
- Ensure the heater is on a stable surface
- Check for overheating signs
When To Call A Professional
Some issues need expert help. Call a professional if your heater has major problems.
Unusual noises or persistent issues require a technician. They have the skills to fix complex problems.
- Unusual noises from the heater
- Repeated tripping of circuit breakers
- Persistent heating issues

Credit: www.youtube.com
Frequently Asked Questions
What Tools Are Needed For Heater Installation?
You need a drill, screwdriver, pipe wrench, level, and safety gear. These tools ensure a safe and precise installation process. Having the right tools speeds up the work and prevents damage to the heater or home.
How Long Does Heater Installation Usually Take?
Heater installation typically takes 3 to 5 hours. The time depends on the heater type and complexity of the setup. Proper installation requires careful steps to ensure safety and efficiency.
Can I Install A Heater Myself Safely?
Yes, if you follow the step-by-step guide and safety rules. However, complex systems may require professional help to avoid hazards and ensure warranty validity. Always switch off power before starting.
What Safety Precautions Are Important During Installation?
Turn off the power, wear safety gloves, and use eye protection. Avoid water contact and check for gas leaks if applicable. Following safety rules prevents accidents and ensures a smooth installation.
Conclusion
Installing a heater can seem hard but following these steps helps. Take your time and check each part carefully. Safety matters most, so always use the right tools. A well-installed heater keeps your home warm and saves energy. Now, you have the basic guide to start your project.
Stay patient and confident as you work through the process. Enjoy the comfort of a cozy home this winter. Simple steps lead to great results. You can do this!